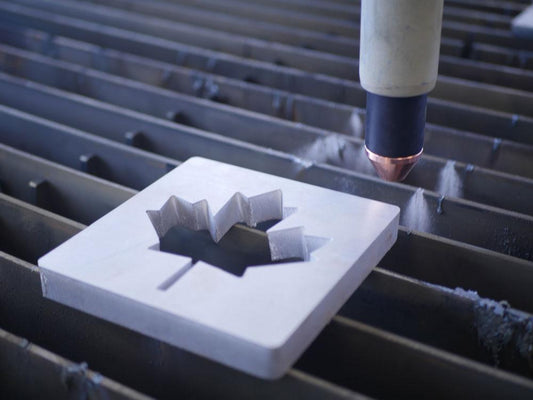
Premier Plasma CNC Router Kit Instructions
In order to switch from plasma cutting mode to the router kit, it’s a very straight forward process and only takes a couple of minutes
First step is to unbolt the plasma torch mount (the black steel cube that holds the plasma torch), and the aluminum plate that the torch mounts onto.

The router kit will not require the floating head to operate, so basically the plasma mount and floating head plate will be unbolted from the machine.
Step 2, you will take the black bracket and bolt it to the z axis on the table such that the router mount will be attached to it. The router machine will be attached to it through the aluminum mount.

Step 3, you will want to connect power to the router machine, and this can be done either by directly routing cables to an electric outlet, or by using a relay to receive the on/off signal from the breakout board and start the spindle (using the red and black wires coming out of the control box).
Step 4, in sheet Cam you will want to change some settings in order to be able to create routing tools and enable the rotary cutting for the software to send the start/stop signal. First setting is the post processor (you will use “Mach3” post processor for the router kit) and you will need to enable the rotary cutting option in the Machine options.